Datatype Conversion in Power Query Affects Data Modeling in Power BI

Datatype Conversion in Power Query Affects Data Modeling in Power BI

In my consulting experience working with customers using Power BI, many challenges that Power BI developers face are due to negligence to data types. Here are some common challenges that are the direct or indirect results of inappropriate data types and data type conversion:

  • Getting incorrect results while all calculations in your data model are correct.
  • Poor performing data model.
  • Bloated model size.
  • Difficulties in configuring user-defined aggregations (agg awareness).
  • Difficulties in setting up incremental data refresh.
  • Getting blank visuals after the first data refresh in Power BI service.

In this blogpost, I explain the common pitfalls to prevent future challenges that can be time-consuming to identify and fix.

Background

Before we dive into the topic of this blog post, I would like to start with a bit of background. We all know that Power BI is not only a reporting tool. It is indeed a data platform supporting various aspects of business intelligence, data engineering, and data science. There are two languages we must learn to be able to work with Power BI: Power Query (M) and DAX. The purpose of the two languages is quite different. We use Power Query for data transformation and data preparation, while DAX is used for data analysis in the Tabular data model. Here is the point, the two languages in Power BI have different data types.

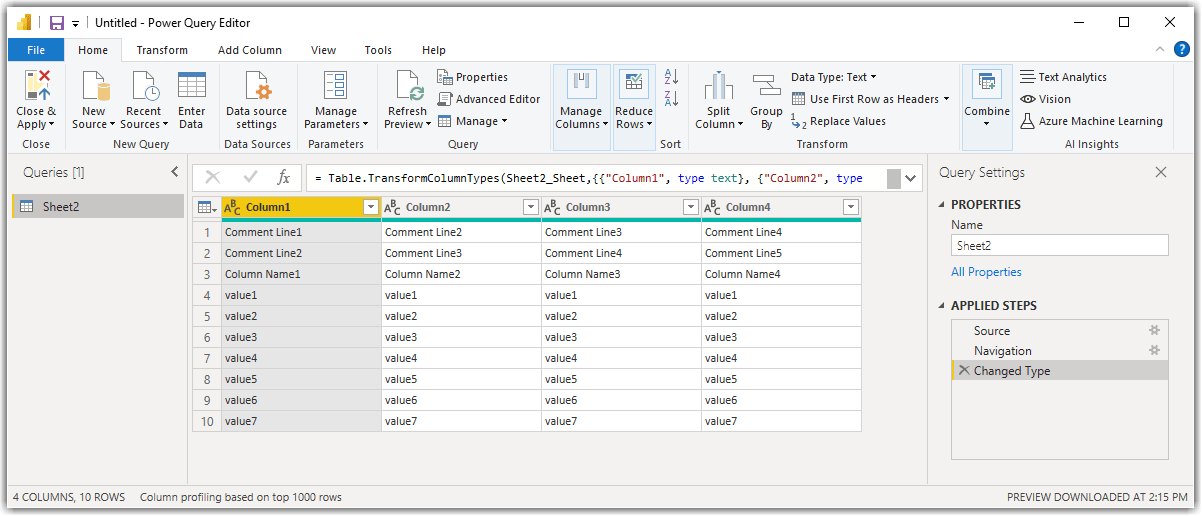
The most common Power BI development scenarios start with connecting to the data source(s). Power BI supports hundreds of data sources. Most data source connections happen in Power Query (the data preparation layer in a Power BI solution) unless we connect live to a semantic layer such as an SSAS instance or a Power BI dataset. Many supported data sources have their own data types, and some don’t. For instance, SQL Server has its own data types, but CSV doesn’t. When the data source has data types, the mashup engine tries to identify data types to the closest data type available in Power Query. Even though the source system has data types, the data types might not be compatible with Power Query data types. For the data sources that do not support data types, the matchup engine tries to detect the data types based on the sample data loaded into the data preview pane in the Power Query Editor window. But, there is no guarantee that the detected data types are correct. So, it is best practice to validate the detected data types anyway.

Power BI uses the Tabular model data types when it loads the data into the data model. The data types in the data model may or may not be compatible with the data types defined in Power Query. For instance, Power Query has a Binary data type, but the Tabular model does not.

The following table shows Power Query’s datatypes, their representations in the Power Query Editor’s UI, their mapping data types in the data model (DAX), and the internal data types in the xVelocity (Tabular model) engine:

Power Query and DAX (data model) data type mapping

As the above table shows, in Power Query’s UI, Whole Number, Decimal, Fixed Decimal and Percentage are all in type number in the Power Query engine. The type names in the Power BI UI also differ from their equivalents in the xVelocity engine. Let us dig deeper.

Continue reading “Datatype Conversion in Power Query Affects Data Modeling in Power BI”

Slowly Changing Dimension (SCD) in Power BI, Part 2, Implementing SCD 1

Slowly Changing Dimension (SCD) in Power BI, Part 2, Implementing SCD 1

I explained what SCD means in a Business Intelligence solution in my previous post. We also discussed that while we do not expect to handle SCD2 in a Power BI implementation, we can handle scenarios similar to SCD1. In this post, I explain how to do so.

Scenario

We have a retail company selling products. The company releases the list of products in Excel format, including list price and dealer price, every year. The product list is released on the first day of July when the financial year starts. We have to implement a Power BI solution that keeps the latest product data to analyse the sales transactions. The following image shows the Product list for 2013:

Products List 2013 in Excel
Products List 2013

So each year, we receive a similar Excel file to the above image. The files are stored on a SharePoint Online site.

Scenario Explained

As the previous post explains, an SCD1 always keeps the current data by updating the old data with the new data. So an ETL process reads the data from the source, identifies the existing data in the destination table, inserts the new rows to the destination, updates the existing rows, and deletes the removed rows.

Here is why our scenario is similar to SCD1, with one exception:

  • We do not actually update the data in the Excel files and do not create an ETL process to read the data from the Excel files, identify the changes and apply the changes to an intermediary Excel file
  • We must read the data from the source Excel files, keep the latest data while filtering out the old ones and load the data into the data model.

As you see, while we are taking a very different implementation approach, the results are very similar with an exception: we do not delete any rows.

Implementation

Here is what we should do to achieve the goal:

  • We get the data in Power Query Editor using the SharePoint Folder connector
  • We combite the files
  • We use the ProductNumber column to identify the duplicated products
  • We use the Reporting Date column to identify the latest dates
  • We only keep the latest rows

Getting Data from SharePoint Online Folder

As we get the data from multiple files stored on SharePoint Online, we have to use the SharePoint Folder connector. Follow these steps:

  1. Login to SharePoint Online and navigate to the site holding the Product list Excel files and copy the site URL from the browser
Getting SharePoint Online Site URL
  1. From the Get Data in the Power BI Desktop, select the SharePoint Folder connector
  2. Click Connect
Connecting to SharePoint Online Folder from Power BI
  1. Paste the Site URL copied on step 1
  2. Click OK
Connecting to SharePoint Online Folder from Power BI using the SharePoint Folder connector
  1. Click Transform Data
Transforming data in Power Query Editor
Continue reading “Slowly Changing Dimension (SCD) in Power BI, Part 2, Implementing SCD 1”

Combining X Number of Rows in Power Query for Power BI, Excel and Power Query Online

Combining X Number of Rows in Power Query for Power BI, Excel and Power Query Online

A while back, I was working on a project involving getting data from Excel files. The Excel files contain the data in sheets and tables. Getting the data from the tables is easy. However, the data in the sheets have some commentaries on top of the sheet, then the column names and then the data itself. Something like below:

Sample data
Sample data

This approach is pretty consistent across many Excel files. The customer wants to have the commentary in the column names when the data is imported into Power BI. So the final result must look like this:

Sample Data to be loaded into Power BI

The business requirement though is to combine the first 3 rows of data and promote it as the column name.

The Challenge

Let’s connect the Excel file and look at the data in Power BI Desktop.

Connecting to sample data from Power BI Desktop

As you can see in the preceding image, Power BI, or more precisely, Power Query, sees the data in Table format. After we click the Transform Data button, this is what we get in Power Query Editor:

Connected to sample data from Power Query in Power BI Desktop

We all know that tables consist of Columns and Rows. The conjunction of a column and a row is a Cell. What we require to do is to concatenate the values of cells from the first three rows. We also have to use a Space character to separate the values of each cell from the others.

Column, rows and cells in a Table in Power BI
Column, rows and cells in a Table

In Power Query, we can get each row of data in as a Record with the following syntax:

Table{RecordIndex}

In the above syntax, the Table can be the results of the previous transformation step, and the RecordIndex starts from 0. So to get the first row of the table in the preceding image, we use the following syntax:

#"Changed Type"{0}

Where the #"Changed Type" is the previous step. Here are the results of running the preceding expression:

Getting the first row of a Table

So we can get the second and third rows with similar expressions. The following image shows the entire codes in the Advanced Editor:

Power Query expressions in Advanced Editor in Power BI Desktop
Power Query expressions in Advanced Editor

But how do we concatenate the values of the rows?

Continue reading “Combining X Number of Rows in Power Query for Power BI, Excel and Power Query Online”

Integrating and Visualising Multiple Microsoft To Do Accounts with Power BI

Integrating and Visualising Multiple Microsoft To Do Accounts with Power BI

It’s been a while that I use Microsoft To Do to organise my daily tasks. From work-related tasks to buy groceries. While Microsoft To Do is super easy to use but there are some challenges in using it more efficiently, especially when you have multiple O365 accounts within different organisations. Here are some of the challenges I faced; you may face other challenges too:

  • The Microsoft To Do app for Windows devices is very user friendly with amazingly good features like the ability to add multiple To Do accounts. However, we currently have to select which account we would like to use and the app shows all our tasks within that specific account. This means we can not see all our tasks from all our accounts in a single place.
  • The Microsoft To Do app for iOS devices is also very handy to use, but it lacks adding multiple accounts. Hence we cannot see all our tasks from multiple O365 accounts on the app. 🙁
  • We can use the Tasks within the Microsoft Outlook desktop application (I used the Windows version) which is by far the most comprehensive one with tons of features. While we can see tasks from multiple accounts in a single place, it is a real challenge if I want to know which task is assigned to which account. Besides, it is really hard to answer some questions like, how many high-priority tasks I have for today or the week ahead. I know, we can group tasks, but, it is still not so intuitive.

For the above reasons, I searched for a product that can do all the above at once. After spending some hours, I thought, well, I have to do it myself.

With that, let’s go ahead and see how we can get the job done in Power BI.

Note:

This method is not working for Microsoft To Do using personal accounts such as Outlook, Hotmail or MSN. If anyone knows how to add those, please let us know in the comments section below this post.

This is a long post that took me a reasonable amount of time to write. So I added the following table of contents so you can quickly jump to a subject of your interest.

Table of Contents

How It Works

Microsoft Power BI is NOT a reporting tool only. We can connect to many data sources, mix and match the data, create data models and visualise the data. So it should be possible to connect to multiple To Do accounts, append the data, create a simple data model on top of that, and visualise the data to answer our questions or our customers’ questions. The Microsoft To Do data is accessible via the Microsoft Exchange Online connector available in Power BI. The rest depends on our requirements and what questions we would like to answer.

In my case, in which I am the end-user of the report, I would like to be able to know:

  • Today’s tasks: All tasks that their StartDate or DueDate is today or the Tasks without any StartDate and DueDate
    • Number of tasks
    • Number of important tasks
    • Tasks by mailbox
    • Tasks details
      • Task list
      • Task description
      • Status
      • Start date
      • Due date
      • A link to the task itself that I can update if I want to
  • All Tasks
    • All above plus
      • Number of open tasks
      • Number of completed tasks

You or your customer(s) might have different requirements, but once you understand how to get the To Do data from Microsoft Exchange Online and do some data explorations to find out what you are after, you’ll be good.

Continue reading “Integrating and Visualising Multiple Microsoft To Do Accounts with Power BI”